Saturday 11 October 2014

How to naturally clean your oven with white vinegar and baking soda!!

Today's post is an experiment on the Pinterest post of how to naturally clean your oven with baking soda and white vinegar. I have taken pictures to document whether or not this method worked on my home oven.

What you will need:

Oven
Baking Soda
White Vinegar
Water
Mixing Bowl
Tablespoon
Spray Bottle
Rubber Gloves
Dish Cloth

Instructions:

Step 1
Remove all items from the oven including the oven racks.

Step 2
Mix together 1/2 cup of baking soda with 2-3 tablespoons of water to make a paste. I used 3 tablespoons. You can adjust the amount of water accordingly to make a spreadable paste.

Step 3
Spread the paste around the oven.  Ensure you cover all areas of the oven and don't forget the glass on the oven door. I used rubber gloves for this part, they really saved my hands and nails getting dirt and grime on them.

Step 4
Leave the mixture to work overnight (or for 12 hours) let the mixture sit on that grime in the oven.

Step 5
After 12 hours or overnight wipe off the paste with a damp dish cloth.

Step 5a
You may need to use a spatula to help remove the more stubborn areas.

Step 6
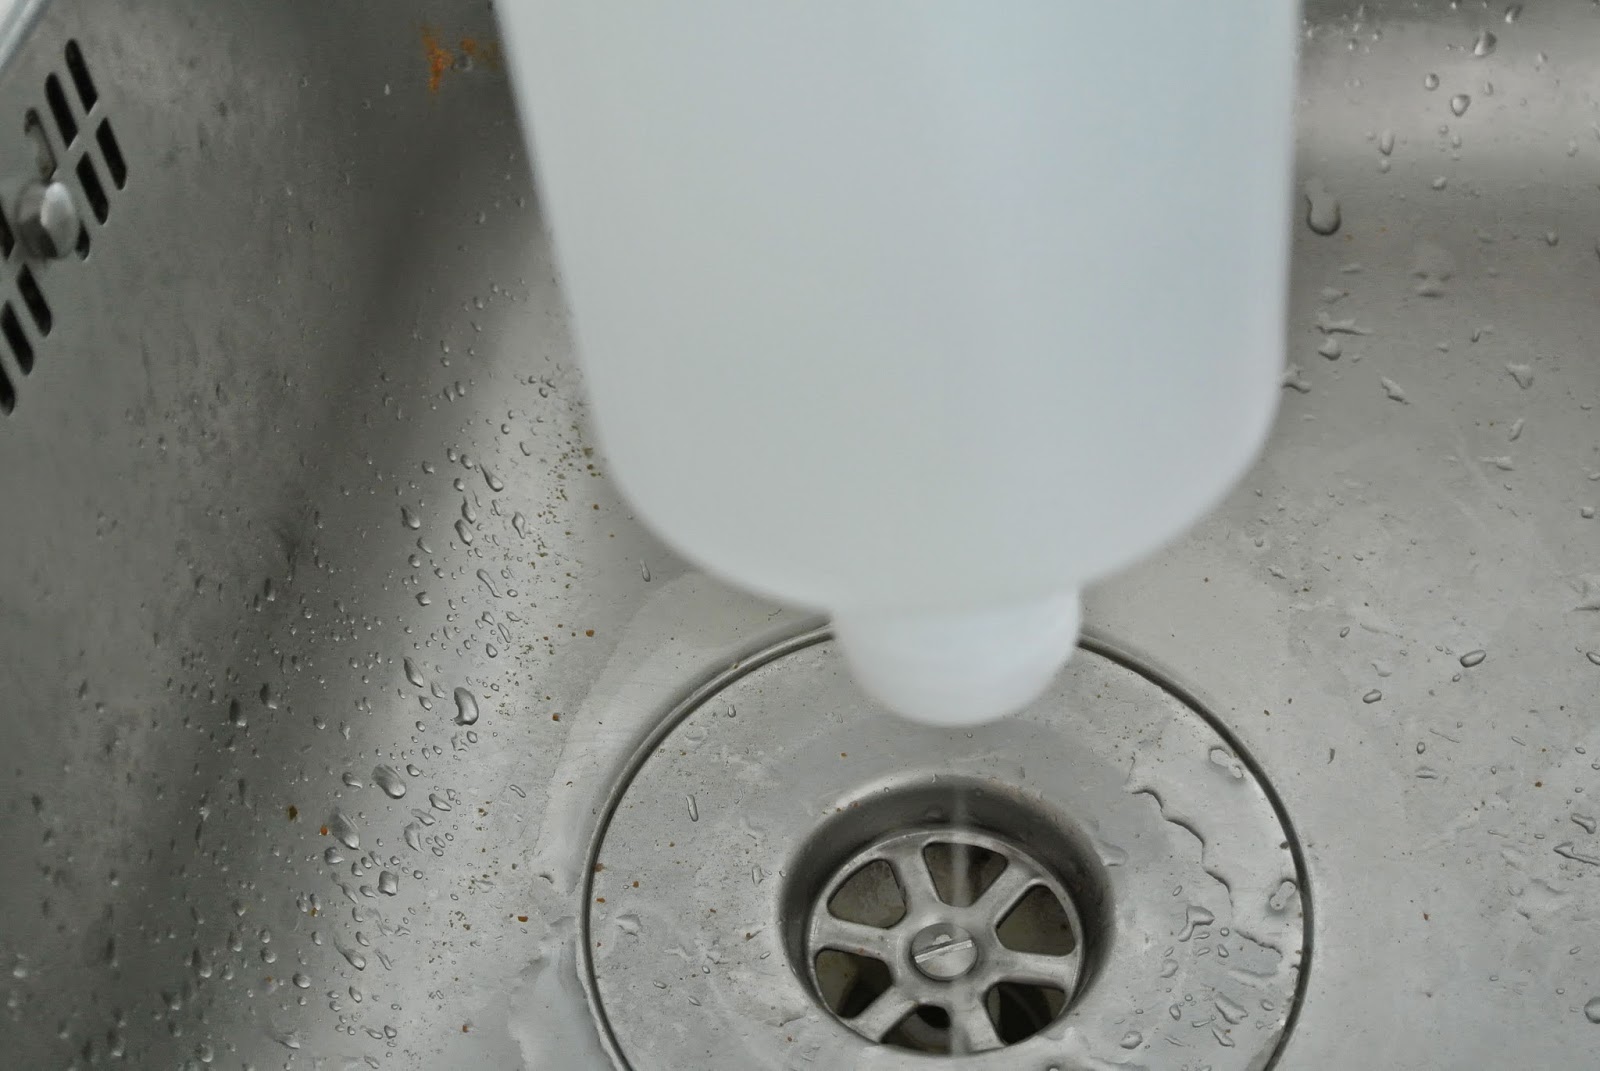
Spray white vinegar onto the oven, this will show up any areas that have baking soda remaining.

Step 7
Wipe the oven clean with damp cloth. You should find your oven is now nice and shiny.

My Opinion:


Overall I feel this mixture would work best on an oven with less grease and grime. It is a great way to use products that do not have a chemical smell as we all know oven cleaners are very pungent.

If you have read my first post you will know I am by no means a cleaning expert (quite the opposite) but I like to look at ways to clean my home without the use of harsh chemicals.

As you will see from the pictures my oven was extremely dirt before we commenced the experiment.


Before:


Once I put the paste on:


After sitting overnight, in fact I left the paste on for 15 hours:


After I sprayed the vinegar on:


The end result:


One more picture is a before and after view:


Before

After

As you can see most of the surface dirt was removed. If I had scrubbed the oven with a Brillo Pad or a heavy duty cloth I could of gotten a better result however the purpose of this was to follow the instructions as set in the many Pinterest post.


Friday 11 July 2014

Does this Pinterest homemade floor cleaner really work?


In today's post we test out a post I seen on Pinterest. It is a tile and grout cleaner made using baking soda, white vinegar, water and lemon juice.

I have made a video for my YouTube channel that is also worth a watch. Please scroll to the end of this post to view.

Below is the procedure to follow:

  1. Mix all the ingredients into a plastic bowl or basin. You will need 3 cups of hot water from tap, 1/2 cup of baking soda, 1/4 cup of white vinegar and 1/3 cup of lemon juice.
  2. Once these are mixed you may wash the floor with a mop or cloth or place the mixture into a bottle and squirt on the floor. Leave to sit for 5 - 15 minutes once applied to the floor.
  3. You will need a toothbrush or hand held scrub brush to scrub the floor and grout. Ensure you pay special attention to the grout.
  4. Once you have scrubbed you need to wash the floor a time or two to remove the dirt and mixture.  
  5. Leave to dry to see the finishing result.

How did it work for me?

I started off with my floors looking very dirty, see the pictures for reference. As we are in rented accommodation it seemed years of dirt and grime were worked into the floor.


Scrubbing the floor took a lot of energy, I was beat once I finished. We have a steam cleaner so I used this to remove the mixture and dirt after scrubbing, it took 2 times and wiping the floor with a damp cloth to finally remove the mixture as it left a residue on the floor once it dried. Once it dried I ran the stream cleaner over once more and it was finally finished, see the pictures for reference.


Overall I was happy with the results I got, I will do this again next month and document the results also.


Here is the video I made for our YouTube channel:  https://www.youtube.com/user/tidythingsireland


Monday 30 June 2014

Just a quick note - Monday 30th June 2014.

Hey everyone I just wanted to do a quick update to let you know that today June 30th I completed my cleaning as per the schedule. I have been seriously slacking off this past few weeks but I have a renewed energy for this project again. 

Today I completed the daily cleaning tasks and I am currently on load 2 of 3 with the laundry. Once the first 2 dry I will do the ironing tonight.

I expect to blog more in July, I have made a goal to be more proactive with my blog and YouTube channels so here's hoping I can fulfill my goal.


Monday 23 June 2014

Rant alert!

I think this post will be more of a rant than an informative post about organisation. I apologize in advance if this does not interest you all.

I HATE CLEANING, it's so boring, like extremely boring but I LOVE the end result. The feeling I get knowing my house is clean and tidy is one of pride which makes me want to invite people over to socialize at our home.

Another obstacle I've come across is my roomy and boyfriend. He is just as messy as me and leaves things around everywhere. I think in the time I have started this project I have argued with him a million times about not washing the dishes, not rinsing the shower, not cleaning up after himself etc. I'm now convinced that he loves to get me riled up and is doing these things just to irritate me. His one and only chore is to wash up after meals. He leaves the dishes sitting for hours before he does them and lets them "air dry".

I suppose my rant today is really about me needing to persuade him to get on board with the cleaning routine and share with him my feelings about the whole situation.

I now declare this rant OVER!!

Again I apologize about this short uninformative post and the contents aren't too great either but I wanted to share my feelings on the whole experience.


Wednesday 11 June 2014

Some home truths about weight and exercise.


I have always been a walker, I remember when I was in secondary school (high school), an old friend and I would walk around our town in the evenings after school. The town I live in did not have much entertainment for teenage girls so we had to resort to walking around the town for hours. To say we were fit is an understatement, also twice a week we went ballet & hip hop dancing, as you can imagine we had great legs. A year after school finished I got a boyfriend with a car so the walking kinda stopped. 

Fast forward 9 years I still have that same boyfriend and the walking is at a bare minimum. The sad part is I've put on about 30lbs since I was 18, I have a poor diet and don't exercise. We have an Irish Red Setter and he is now overweight for her breed, we have a serious issue on our hands.


As it is summer in Ireland I can now start walking again, for the past 2 mornings I have been getting up at 9.30am (which in itself is amazing as I usually get up at 11am-12pm) and heading for a walk by 10am. Once I'm out there I feel great as I'm exercising my legs and getting lots of fresh air (just ignore the fumes from cars) I feel good about myself when I arrive home.

Currently I go 2.7km in 24 minutes so for the rest of this week I'll keep this route and get faster as the days go by. Next week I will change routes, each week I plan to increase the distance. I really hope I can keep this up as I need it. If I calculate my BMI I am in the obese category, if you have a BMI over 30 (mine is 31.6) your risk of weight related diseases such as type 2 diabetes & heart disease increase. I also have a medical condition called Polycystic Ovary Syndrome which increases your chance of developing diabetes so I really need to give myself a good kick in the bum and get moving.

If you would like to check your BMI just use this link. http://www.safefood.eu/Healthy-Eating/Weight-Loss/BMI-calculator.aspx

So with this I leave you until my next post.


Monday 9 June 2014

My Filofax Setup 2014

Todays post will cover the new A4 Filofax I just purchased.

I plan to use this for day to day scheduling and also as a household binder.

Please view the following video from our YouTube channel. It will show my Filofax in debt.


As you will notice once you watch the video I have not personalized it to my taste just yet. I plan to make a mini series on this blog about my Filofax and how I will incorporate it into my daily life.

I hope you have enjoyed viewing the video and don't forget to follow me on my social media sites.

Pinterest: http://www.pinterest.com/tidythingsirl/
Twitter: https://twitter.com/TidyThingsIre
YouTube: https://www.youtube.com/user/tidythingsireland
Bloglovin: http://www.bloglovin.com/karenheavey


Thursday 5 June 2014

Plumbing Issues?

We have some kitchen drain issues in the apartment ladies and gents so let me give you the back story.


We moved into this apartment on 3 April 2014. After two weeks here we noticed a draining issue in our kitchen sink. Basically the water would take forever to go down the drain. If we used the tiniest drop of water it would take 2 minutes to drain. 

After days of this we headed to Woodies DIY store and got ourselves some drain unblock. I was so excited that our drain would now cooperate with us and do what all kitchen sinks do. How disappointed was I when I noticed that after using the 14euro product the drain did not unblock :(

We went back to Woodies another day and picked up a high quality product but still would not budge the blockage, in fact I think it made it worse. The draining was impossibly slow we had to resort to washing our dishes in the bathroom.

As this is a rented property we contacted the letting agents and demanded someone (a plumber) be sent out to us. On Tuesday 3 June a plumber arrived with industry strength drain unblock. As he was pouring it in the smell would literally burn your eyes and nostrils. Both the plumber and I had to stand on the balcony the smell was that bad. 
He left the product in there for 15 minutes and tested, there was still clogging issues. He proceeded to pour boiling hot water from the kettle into the sink. Eventually the block was dislodged and now we have a fully functioning sick. I could have kissed the man I was that happy, until I looked into the sink after he left and saw this.


He left a stain that will not budge, I've tried everything I could think of (bleach being the main ingredient in all products tried). Does anyone have any ideas on how to remove this?

If you know of anything I can try to remove this stain please let me know in the comments below. 

I hope you have a great day. I will see you all in the next blog.


Sunday 1 June 2014

A review of the first week with my new cleaning schedule.

As the title suggests this short post is to review my first week with the cleaning schedule.

I can confirm that everyday except Tuesday I followed the daily cleaning. As for the weekly schedule that was a complete fail. I deep cleaned the bathroom but that''s about it. 

Today is June 1 and I plan to ensure that I follow the full schedule from here on out. I have planned out the weeks of June below.


June 2 - June 8

Everyday - Daily cleaning
Monday -  Laundry
Tuesday - Kitchen & Office
Wednesday - Bedrooms
Thursday - Balcony Screen & Rubbish Bins
Friday - Living & Dining 
Saturday - Bathroom

June 9 - June 15

Everyday - Daily cleaning
Monday -  Laundry
Tuesday - Kitchen & Office
Wednesday - Bedrooms
Thursday - Refrigerator & Oven
Friday - Living & Dining 
Saturday - Bathroom

June 16 - June 22

Everyday - Daily cleaning
Monday -  Laundry
Tuesday - Kitchen & Office
Wednesday - Bedrooms
Thursday - Windows & Blinds
Friday - Living & Dining 
Saturday - Bathroom

June 23 - June 29

Everyday - Daily cleaning
Monday -  Laundry
Tuesday - Kitchen & Office
Wednesday - Bedrooms
Thursday - Kitchen cupboards & schrod paperwork
Friday - Living & Dining 
Saturday - Bathroom

Thanks for reading, I'll see you with the next post.


Friday 30 May 2014

How to remove the odor from your kitchen drain with a natural remedy.

Today's post is a little different. Have you ever had a stinky pong from your sink well stay tuned to discover a remedy for this.

This post will also appear on Pinterest. Be sure to pin it to one of your boards. (http://www.pinterest.com/pin/479633429038199372/)

On Wednesday I noticed that my kitchen sink was rather smelly, so like any sane individual would do I jumped on google and looked up a remedy. What I found was to use a mix of baking soda and white vinegar. 


So if you have a smell coming from your sink follow these steps below.


  • Measure one cup of baking soda per sink hole and pour into sink. Leave to sit for 20 minutes.


  • Measure 1/4 cup of white vinegar per sink hole and pour into sink. This will cause a foaming reaction. Cover immediately with a cloth for approx 1 minute.


  • Run hot water into your sink for 1-2 minutes, this will dislodge the organic food particles and clear the pipe for you.


On a whim I decided to check the overflow pipe under my sink. I discovered that there was food particles blocked in the pipe, so make sure you remove these also as this could be adding to the odor.


Having tried the above myself I can confirm that it worked in my home. My sink now smells fresh.

I really hope someone finds this helpful/beneficial. I will see you all on my next blog update.


Wednesday 28 May 2014

Creating a cleaning schedule

So todays post is how to create a cleaning schedule which hopefully I can stick to. 

On researching this subject I came across a lot of layouts on Pinterest and although most were very good they weren't specific enough to what I needed. I also watched YouTube videos on cleaning schedules to get an idea of how other people handle the cleaning routine.


Currently I do a blitz clean, this is to get the whole house cleaned on one day usually a saturday morning. That my friends is the extent of the cleaning schedule in my house. If I was cooking and something spilled or water over boiled chances are we would leave this there until cleaning day. So as you can see we are a little bit slobby, I can't even imagine what it would be like if we had kids, I think the house would be a tip.


I have outlined the steps I have taken to make a cleaning routine that satisfied my schedule while spreading the chores out over the week. 


Check out this video from the Tidy Things Ireland YouTube channel which I made earlier, it runs through the below outlined steps as well. (www.youtube.com/tidythingsireland)


  • Making a list of all cleaning to be done.

    Do exactly as it says above, make a list of all the cleaning you can think of around your house. I thought of the following items and put them on a spreadsheet as pictured below. Once you have listed all the cleaning that needs to be done, have a look at the layout sheets from my Pinterest board to see if you have missed any for your own home. (http://www.pinterest.com/tidythingsirl/cleaning-schedules/)


    • Split the list into categories


    Next you need to define whether the chore is a daily, weekly, monthly etc task. Once this is complete sort the list so you have it grouped by how ofter it needs to be completed (column b).


    • Create the schedule into a word document

    To add more structure and as a better visual aid it is best to move the schedule to a word or pdf document. Please see the above video for the completed schedule and instruction on this.


    To download this schedule please click on the Cleaning Schedule Download tab above (at the top of the page) or by clicking the following link. (https://drive.google.com/file/d/0B6yuPUxjriLVSnR5eDZuYlM5VXM/edit?usp=sharing)


    Monday 26 May 2014

    Where do I start???

    I have to start somewhere but where will that be. 


    One of the first things I've done is made a list of goals I want to achieve over the course of this project:
    • Create a cleaning schedule (daily, weekly, monthly, quarterly).
    • Track my household finances.
    • Plan out my meals.
    • Lower my spend on groceries.
    • Create an area for all important files.
    • Create a binder or Filofax that contains all information above.
    • De-clutter my home.
    • Sort, sell and donate unwanted belongings.
    I'm sure as time goes on I will add things to this list but for now the above seems a little daunting, as I've mentioned in previous posts I'm very lazy and all that seems like hard work :)

    To start today I think my best bet is to do what I hope will become my daily cleaning schedule. 
    1. Make the bed.
    2. Hoover/Vacuum high traffic areas.
    3. Put away or de-clutter items on coffee & dining room tables.
    4. Collect dirty laundry.
    5. Wipe clean kitchen sink, counters and stove top.
    6. Wipe clean bathroom sink.
    7. Bleach and clean toilet.
    8. Wash & dry any dishes immediately after use.
    9. Take out the rubbish/trash.
    This above list might look like day to day chores for you but for me the lazy lady I usually make the bed and wash the dishes but don't dry them. I know its terrible but that's all changing.

    My next blog post will be on Wednesday where I hope to share with you my full cleaning schedule and the method used to make said schedule.

    Be sure to sign up to email updates so you can be the first to hear when a new post is live. Also you can follow me on twitter https://twitter.com/TidyThingsIre 

    So wish me luck my follow bloggers and readers this is the start of a long rewarding process.

    ·      
    ·    


    Friday 23 May 2014

    House Tour - Before the journey begins

    Today's post is a tour of our 2 bed apartment, although it is small I still procrastinate and only clean once a week. As you will see from the pictures below, it is quite messy and some rooms are unorganised and cluttered. Over the course of this project of life organization my long term goal is to have a clean, decluttered and organised home. (amongst other things)

    Within our family and friends people just call to each others homes unannounced or sometimes you are given a 5 minute warning of their arrival. When this happens you make the excuses "sorry about the mess, I've been so busy today and never got to clean" or "we just made dinner hence the messy kitchen" in reality I just didn't bother cleaning today (or yesterday) and I'm making up an embarrassing excuse which no one really believes. If your like me you may even start clearing up when they are there visiting to make you look less a slob but everyone knows the truth :)


    Anyways on with the tour.


    Entrance


    You will see our entrance its quite clean and clutter free, we hang our coats, there is a little book shelf for candles and a pink organisation box which was in the bathroom but now lives in the entrance (there is nothing in any of these drawers but for some reason I still keep it there).


    Guest Bedroom

    Well this room is the guest bedroom but as you can see not many people can sleep in here unless you want to move all the crap off the bed and yes I do have 2 mattresses on that bed. The reason behind that is, we rented a fully furnished apartment but we had our own bed to bring with us, the letting agency refused to take the unwanted bed so as a result we had to break it down and store it on/under the guest bed. This is the room that needs the biggest declutter, we still have belongings in my in-laws so this room will be used as storage also, but hopefully I can manage to keep the bed clean.


    Bathroom


    This room is well organised and basically clutter free. We bought the shelving unit in IKEA when we moved in, it stores our towels on the top two tiers. In the boxes are our toiletries and toilet rolls hidden away from view. 


    Main Bedroom

    We keep our bedroom as clutter free as possible. You have to excuse the ugly curtains, our room is extremely bright at night (there is a spot light right outside the bedroom window) so we had to get dark curtains, the only length that fit were these ugly things from IKEA.


    Laundry Room

    This is a good size as we can store our clothes horse in here away from view. As we are in rented accommodation we have a washer/dryer, unfortunately the dryer doesn't work great also the drum is fairly small so only small loads of washing can be done. The top shelf above the washing machine is storage for appliance boxes, we keep these for when we move again. The bottom shelf is storage for household products. This area is a little cluttered but manageable.


    Kitchen, Dining and Living Room

    On to the main traffic areas these cause me the most stress as they are where the visitors see. The dining area is basically a storage area. We recently bought a new TV and Rob has decided to store the box and old TV in this area. The dining room table has been used by us 3 times at the most and now I store everything on the table


    The balcony is kept clear except for the 4 plants we have. As you can see the view is totally amazing :)


    The living room is small, again the coffee table holds a lot of unnecessary clutter, the gift bag you see is Rob's present he got me on my birthday this past Monday. We are also in the habit of leaving footwear in this area ugh!


    The kitchen gets so dirty so quickly, every time I turn around there are dishes to wash. Rob is in the habit of not drying the dishes and he leaves them to "air dry". 


    So that's it folks, you have now completed the house tour. Do you feel as panicky as me about the task ahead? I really hope you don't judge me too harshly, I'm going to change honestly :)  Also if you couldn't tell writing/grammar is not my strongest point so I apologize for errors made.

    I hope you enjoyed tour and feel free to leave and comments/suggestions below. I have also setup an email service, so if you would like to be informed when a new post is available be sure to sign up all you need is to enter your email address.

    My next blog post will be "Where to begin", until then have a great weekend.